Menu
Your Cart
TODAY ONLY!!! Take an additional 5% OFF. HURRY! Use Discount Code: TODAY

5.75 Inch LED Headlight

HOW TO ADJUST AND INSTALL LED SEALED-BEAM HEADLIGHTS

The sealed beam headlamp may seem a little strange for individuals venturing into their first experience driving an older car. As with a modern car, you can't just change the bulb—you must replace the entire unit, housing, etc. Then there's aiming the headlight's beam to make night driving safe and trouble-free. Having your headlights pointed straight into the eyes of oncoming traffic is the surest way to get lights flashed at you, an irate driver blasting their horn, or the original Angry Bird pointed toward you. All humor aside, driving with improperly focused headlights is somewhat dangerous; therefore, aiming your headlights correctly is a cheap and straightforward method to increase your safety. 

Can I swap sealed beam headlights for LED headlights?

We recently decided to install Holley RetroBright 7-inch 5700K LED headlights instead of the outdated ones on this 1976 Dodge Charger. Although we desired the contemporary features of LED headlights, we were adamant about maintaining the classic design of our mid-1970s personal luxury coupe's front end. We chose "Modern White" for the 5700K because it is frequently driven, particularly on rural routes with lots of wildlife. The three color tones of Holley RetroBright headlights are Classic White, Modern White, and Euro Yellow. They are sized to fit standard sealed-beam headlight sizes, like:

  • 5.75-inch Round
  • 7-inch Round
  • 4-inch x 6-inch Rectangular
  • 5-inch x 7-inch Rectangular

Watch as we walk you through installing a sealed beam headlight system correctly.

First, take off any external trim that surrounds the headlamp. This applied to the Charger's big chrome ring surround, which is fastened in place with three screws.

After that, the headlight retaining ring must be taken off. In our situation, three screws need to be taken out. This is a popular spot to locate rusted screws, so proceed with caution. Now might be an excellent time to acquire a good penetrating oil if you are concerned about breaking a screw or, worse, damaging the headlight retaining ring.

Holding onto the connector, detach the lightbulb while maintaining support for it. Don't simply pull on the lightbulb. When customers do that, we've seen them hold the bulb with the connecter still in place and a few inches of wire hanging off, just in case.

Installing a new bulb is just the opposite of removing the old one. The connector style used by the Holley RetroBright headlights we are installing is the same.

Make sure the headlight retaining ring fits over the light's lens correctly before installing it. A halt should be made, and the retaining ring should be reset if one side appears or feels higher than the other. If you don't, the headlight may get damaged, or the retaining ring may get bent.

After installing the retaining ring, you have two options: attach your trim right away or wait until the headlight is adjusted. This is specific to your vehicle. Our Charger's headlight beam adjustment screws were situated on the outboard point (horizontal motion, left side depicted) and at the top of the headlamp (vertical motion). Make sure you are familiar with your vehicle's configuration since these screws may be located differently in other makes. Remember to apply penetrating oil to the adjustment screws once more, as corrosion is likely to be present.

The next step is to modify the beam pattern after placing your bulbs. Ensure your headlights are not too low to avoid "over-running" them at night and losing too much visibility up ahead. On the other hand, you want to avoid being the motorist who blinds everyone by aiming their light too high. Locate a level wall with a sufficiently level area in front of it so your car can move before you begin. After drawing the vehicle near the wall, mark the location of the beam pattern's center using tape or another marking tool. To precisely determine the horizontal measurement, mark each beam with a vertical tape stripe that forms a cross.

Your target point will be the tape marking on the wall. If you can't find a factory measurement, back the car straight to the distance the manufacturer advises, or 25 feet. One headlight at a time, block it off, then adjust vertically, then horizontally. Our beams were lower vertically than horizontally, as you can see in our prior photo (left), which is attributable to the Charger's tail-up disco attitude. Adjust each adjustment screw 1/4 of a turn at a time until the placement of the beam pattern is what you are happy with. 
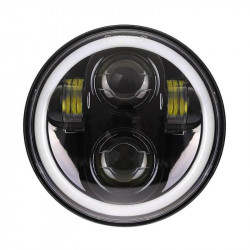
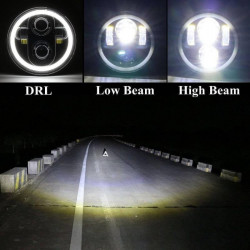
5.75'' led headlight with drl white halo angel eyes 5.75'' led headlight with drl white halo angel eyes
New -10 % Out Of Stock
Model: 10140
Key Features: Color: Black Light Source: CREE LEDs, with DRL Voltage: DC 10V~30V Wattage: Low Beam: 20W, High Beam: 40W Color Temperature: 6000K Style: 5.75" H4 round sealed-beam, black inner bezel Luminous Flux: 3200LM High Beam / 2400LM Low Beam IP67 water and dust seal Specification:..
$99.89 $110.99
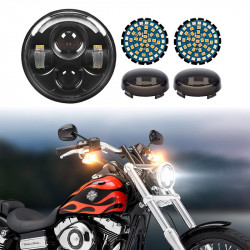
5.75'' led project headlight with angel eyes + led turn signals running light with 1157 insert kit + mounting bracket	5.75'' led project headlight with angel eyes + led turn signals running light with 1157 insert kit + mounting bracket
-16 % Out Of Stock
Model: 10073
5.75" LED Headlight: Color: Black Voltage: DC 10V~30V Wattage: Low Beam: 20W, High Beam: 40W Color Temperature: 6000K Dimensions: 14.6 x 14.6 x 6.5cm Luminous Flux: 1770LM High Beam / 1350LM Low Beam Light Source: CREE LED LED Turn Signal Light Running Light with White/Amber: Turn Signa..
$120.70 $143.69
Model: 10294
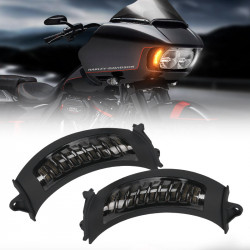
Feature: For Harley-Davidson Road Glide models, the Dynamic LED Vent Inserts attach bolt-on to the left and right sides of the Road Glide headlamp to add white LED running lights and striking amber LED turn signals hidden behind a smoked lens. For Harley-Davidson Road Glide (FLTRX), Road Glide Spe..
$116.29 $116.29
chrome 4.5 chrome 4.5
-22 %
Model: 10150
Key Features Body: Alumnium Metal Product: 4.5" Fog Light Bracket for Harley Lens Color: Chrome Easy install Descriptions: Body: Alumnium MetalProduct: 4.5" Fog Light Bracket for HarleyLens Color: ChromeEasy install Package include:2 x 4.5" LED Fog Light Outer Cover Trim For Harley Dav..
$49.68 $63.69
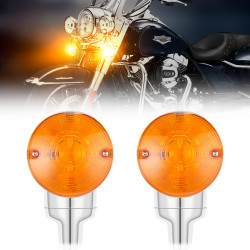
flat style 3 1/4" led turn signal for harley davidson	flat style 3 1/4" led turn signal for harley davidson
-23 %
Model: 10166
Upgrade the 3 1/4" LED turn signals on your Harley Davidson! Multi-Color Diode Technology is featured. Splicing or wiring is not necessary. providing the advantages of increased light production and visibility when driving. They have a sturdy LED cluster, a wiring harness that is sheathed and shield..
$63.13 $81.99
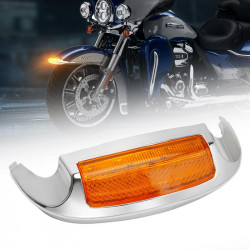
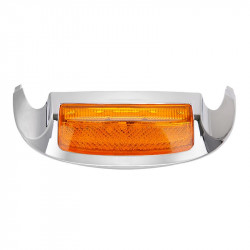
Model: 10021
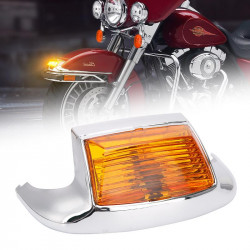
This tip light is a perfect fit on OEM and aftermarket front fenders. Features: state: aftermarket complete newComposition: Premium ABS plasticPlace of Mounting: Front Fender CornerDirect replacement: There are no installation guidelines provided Specification:  Mounting Position:&nbs..
$42.99 $42.99
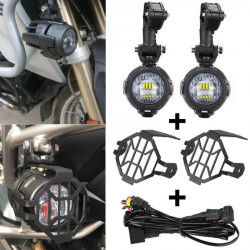
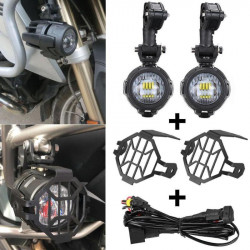
led auxiliary fog lights with protector guard covers & wiring harness led auxiliary fog lights with protector guard covers & wiring harness
-0 % Out Of Stock
Model: 10114
Key Features: Super Bright: 2pcs 40W Auxiliary Lights  Waterproof: IP67 Easy to install Mounting bracket 360 °: universal adjustment bracket Fit: for universal motorcycle and BMW motorcycle  Specification:BMW Auxiliary Lamp: Beam: Spot beam, flood beam Waterproof: IP67 Color..
$139.99 $139.99
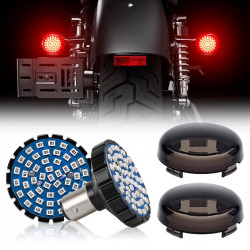
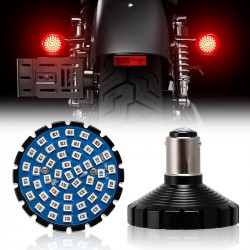
led brake light with single contact 1156 insert kit + mounting bracket for motorcycles led brake light with single contact 1156 insert kit + mounting bracket for motorcycles
-29 %
Model: 10283
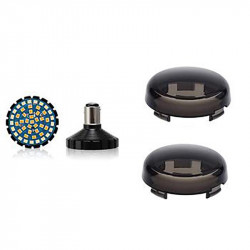
DescriptionFeatures:Advanced Design: The built-in heat sink cooling base and solid billet aluminum foundation design extend the life of the lighting and enhance its performance. No additional wiring is needed because the LED brake lights are designed with 1156 Bullet-style inserts. The turn sig..
$44.73 $63.00
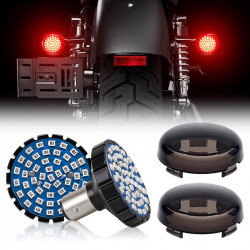
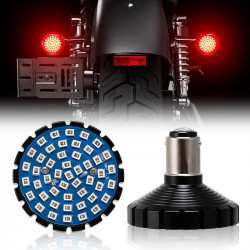
led brake light with single contact 1156 insert kit for motorcycles led brake light with single contact 1156 insert kit for motorcycles
-29 %
Model: 10139
DescriptionFeatures:Advanced Design: The built-in heat sink cooling base and solid billet aluminum foundation design extend the life of the lighting and enhance its performance. No additional wiring is needed because the LED turn signals are constructed with 1156 Bullet Style Inserts. The turn ..
$44.73 $63.00
Model: 10250
Feature:Super Bright LED Tail Fender Light: Designed to replace many Harley Davidson motorbikes' stock rear tail lamps. Simple pop-in replacement using original hardware. Constructed from polycarbonate plastic, the lens is illuminated with CREE LEDs.High Quality: Three times brighter than the origin..
$50.99 $50.99
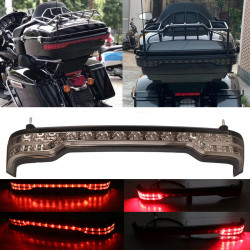
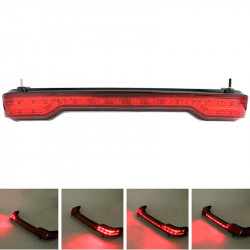
led king tour pack brake/turn/tail lamp kit for 2014-later harley touring models led king tour pack brake/turn/tail lamp kit for 2014-later harley touring models
-30 %
Model: 10194
Key Features:  Function Well: The turn, brake, and tail lights on the tour pack have all been tested and operate well. It fits your bike precisely without requiring modification, splicing, or drilling.Super Bright LED Light: Offers Maximum Visibility and Safety - LED Tail Light with Bra..
$146.99 $209.99
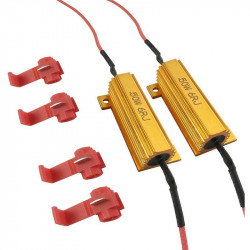
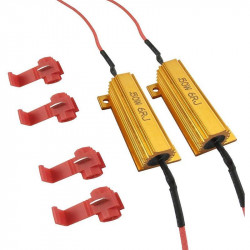
Model: 10132
DescriptionWHAT IS HYPER-FLASH OR BULB-OUT WARNING?Compared to incandescent bulbs, LED bulbs are more energy-efficient and use less electricity. Some vehicles may experience a bulb-out or hyper-flash of the turn signals due to the reduced power consumption of LED bulbs. Outage detection systems may ..
$15.00 $15.00
Showing 25 to 36 of 55 (5 Pages)