The BEST Fog Light Kit for the 2010-2013 Toyota 4Runner

The BEST Fog Light Kit for the 2010-2013 Toyota 4Runner
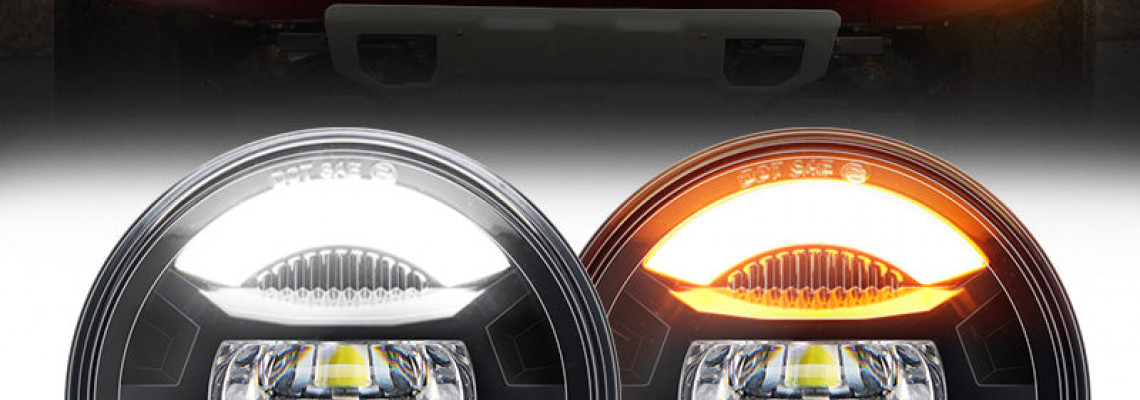
Morimoto 4Banger LED Fog Light for the 2010-2013 Toyota 4Runner.
Any owner of a 4Runner can benefit from lighting enhancements like fog lights. If you enjoy camping and off-roading in the desert, fog lights are a terrific way to see your surroundings. You will love LED fog lights if you drive a lot at night to and from work. The Morimoto 4Banger fog light is the best available!
We're examining how to mount the 4Banger pod lights on the 2010–2013 4Runner model, for which Morimoto made a bracket. Given how wildly popular these vehicles are, it is not surprising that a company like Morimoto caters to every potential 4Runner owner.
ABOUT THE 4BANGERS
With two distinct trim levels, the Morimoto 4Banger LED Pod lights offer a blend of output, design, and adaptability to the LED pod light industry. The entry-level 4Banger NCS model comes with a Nichia LED chip specification for its output source. An Osram HX Boost LED chip powers the premium HXB model's TIR optics, which are present in both variants.
As previously stated, the installation of these pod lights is crazy. To prevent your 4Bangers from appearing as though they were recently tacked to your truck, there are a number of vehicle-specific mounts available. These mounts make the modifications on your truck appear natural.
BEAM PATTERNS
Three beam patterns are available for the NCS and HXB models: combination (driving), wide, and spot. Of the three, the wide beam pattern is likely the most popular. This is authorized for use on roads when pointed at -3° and works best as a fog light.
The driving pattern or mix is helpful for off-roading and is likely to be a favorite among that group. It is also true that the flashlight beam pattern is virtually solely designed for off-road use.
COLOR OPTIONS AND OPTICS
It is also possible to purchase each of those beam patterns with a white or yellow beam pattern for the NCS and HXB models.
If you decide to use the yellow NCS variant, you will be using a Nichia true-yellow LED chip with a yellow-filtered lens. This contrasts with the HXB model, which employs a yellow-filtered lens and a white Osram chip. When switching from the premium white HXB 4Banger to the premium yellow HXB, you will lose about 30% of your brightness, according to the output comparison between the HXB white and yellow options.
We previously discussed the TIR optics, which refer to the lenses. In essence, the individual beam patterns are produced by the lens optic rather than the LED chip inside the 4Banger Pod light.
Install
Tools Needed for the Job:
10mm Socket
T30 Torx Bit
Phillips Screwdriver
4banger Fog Light Assembly
Assemble the 4Banger bracketry first. After removing the top two bolts, cover the holes with the metal bracket. Next, replace the old screws with the two long screws from the 4Banger kit.
Place the 4Banger cover over the 4Banger after grabbing it. It should line up with two distinct mounting locations. Next, fasten the bracket with the two T30 Torx screws on either side. This will enable you to modify your 4Banger's beam height.
Finally, connect the auxiliary harness so that your 4Banger can connect to your car's fog light connector.
Fog Light Install
The three 10mm bolts on the inside fender liner should be unscrewed with a 10mm socket. Another is on the underside of the vehicle, next to the fender well corner. Your fender lining can then be pulled back.
Use a Phillips screwdriver to loosen the fog light housing by removing the bolt.
Before taking the housing out of the car entirely, unplug the OEM connector.
Take hold of the 4Banger pod light using its brackets. The fog light hole's inner side has grooves that you must slip them into. Next, fasten the 4Banger using the one Phillips screw that was used to hold the original fog light.
After that, attach the 4Banger to the original fog light connector.
Before fastening your car's buttons, make sure the lights are functioning properly and aimed appropriately.
CONCLUSION
Since fog lights are permitted to be used on public roads when pointed at -3°, you can now legally go because you have everything set up. The 4Banger is quite simple to install, even if you are not mechanically inclined. The performance is quite self-evident, and the fit and quality are fantastic.
See our blog post on the 4Runner's A-Pillar brackets if you're not into fog lights or want more pod lights.