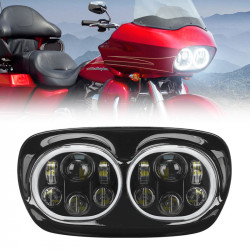
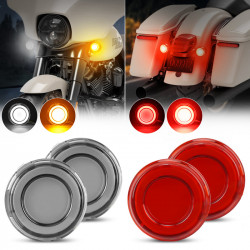
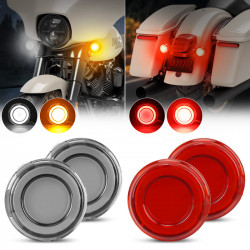
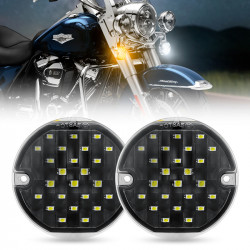
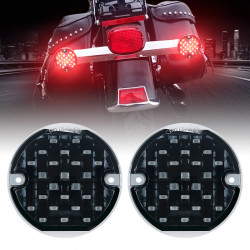
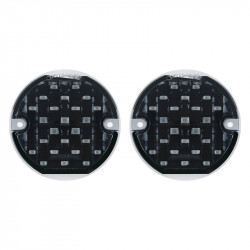
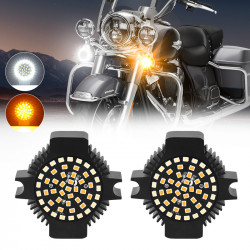
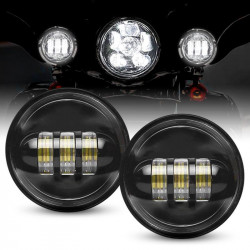
Harley LED Headlight
MOTORCYCLE LED LIGHTS INSTALLATION GUIDE
Work on Your Bike Like a Pro
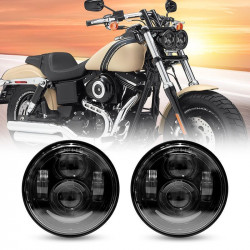
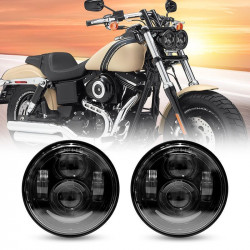
Steve, the resident expert and service technician at LedLightJeep, shows you how to install the new LED headlight. These LED lights are designed for Road Glide bikes model 15 and newer. They are attractive and improve safety and enjoyment while riding.
These motorbike LED lights are waterproof, durable, and one-piece sealed. On low, they emit 4,000 lumens; on high, they produce an incredible 8,000 lumens. They are entirely legal and have DOT approval.
The LED headlamp is modern and easy to install. Anyone can do it by simply plugging it in.
Get Everything Ready for Harley Led Headlight Installation
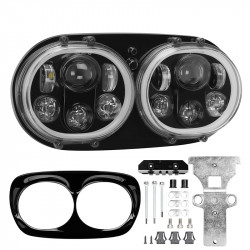
Upon initially opening your LED headlamp, confirm that every component is there. The kit includes everything you need to install the headlamp, such as the wire harness, brackets, screws, and adhesive thread locker. You probably already have a couple of the tools you need.
Ensure your existing headlight and turn signal wiring functions correctly before disassembling the components. Examine your hazards, left and right turn signals, and low and high beams.
When testing the new headlamp, you should record which ones are broken. Hopefully, if there is a problem, it's only a burned-out bulb. However, at this point, you'll know the issue is with your bike and not the new headlamp if anything isn't working now and doesn't work on your new headlight.
Remove the Outer Fairing
The first step is to pull the outer fairing off. This may seem like a big deal, but it's pretty straightforward. There are also lots of videos on YouTube that show you how this is done.
Before you get started, we recommend using a hand-held screwdriver, not a powered one. This allows you greater control, so you don't accidentally scratch the fairing or worse. It's always a good idea to cover your fender with a mover blanket before you start to protect it from the fairing or if you drop something.
Follow these steps in order:
We recommend just loosening the speaker bolts without removing them. This will help keep the fairing from falling on your front fender and potentially damaging it.
To remove the cover of the speaker, keep the bolts on. Stand in front of your bike and lean over the cover. Unscrew it by hand and remove it easily because it's not heavy.
Once the fairing is off there, there are four bolts to remove to get the headlight assembly out. There are two bolts at the top to the left and right of the assembly, then two lower bolts just below the assembly. Feel free to move to a power drill if you like for these, but always be careful.
Remember the last bolt holds the assembly in place, so keep one hand on the headlight as you remove the last bolt. (You may or may not have screens on each side of the headlight assembly, but remove these now.) Pull the headlight out enough to get to the wire harness clip behind the headlight. Lift the clip to release the headlight.
Preparing the Harley Davidson LED headlight for installation.
To avoid scratching anything, we advise working on the headlamp while using a moving blanket for the following procedures.
You need to install filler panels on both sides of the old headlamp you just removed to install the LED headlight. There are some distinctions, though. The bolt and brass grommet on the lower back of the OEM headlight, which connects the panels to the headlight, are easily noticeable.
You no longer have the bolt/grommet on your new headlight. A bolt, nut, washer, and Loctite are included to secure the panels onto the new headlamp. Before moving on to the next step, ensure the filler panels on your new headlamp.
The standard headlight is significantly thicker than the new one. It fits the original mounting bolt location thanks to two brackets that extend the headlight. Three bolts are included with each bracket, which you fasten with Loctite.
Installing the Harley-Davidson Headlight Led
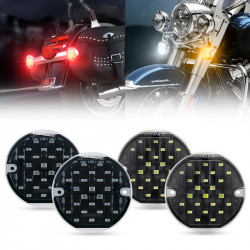
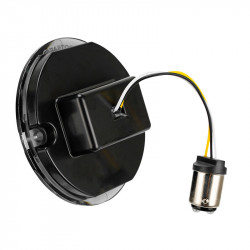
Install splitters on the new headlamp first. With these spade connectors, You may link your bike's headlight to the side turn signals. What goes where is relatively straightforward.
Verify that the rubber on the splitter is slipped up and over the other rubber. It's now time to plug in the headlamp.
After that, attach the new headlight to the bike's connector. This one was the last connector to be unplugged to remove the old headlamp.
Reinstall all of your wiring after pulling it up over the headlight. After inserting the top two bolts but not ultimately tightening them, proceed to insert the lower bolts. This is the moment to reinstall any side screens that you may have.
Make sure you twist every bolt carefully between 22 and 32 inch pounds. If you have a torque wrench, that's the most excellent tool. If you're doing it by hand, use a standard hand-driven screwdriver. The bolts should be tightened, but not to break teeth.
Bring the cables with the splitters up to the side blinkers and daisy chain them in. NOTE: When you reinstall the fairing, there will still be a female splitter where the turn signals attach.
Testing your Harley Davidson LED Headlight
It's time to check that everything is linked correctly before replacing the fairing. Check the hazards, left and right turn signals, high and low beams, and ignition.
It's time to replace the fairing after ensuring everything operates as it should. At this point, people most frequently make the mistake of reversing the wiring, causing the left to activate the right and vice versa.
Exchange the spade connections. The first thing you should do if any lights aren't working is check your wiring connections twice. If the problem persists after replacing the headlight, the issue is likely with the bike itself and not the headlamp. This means that the problem is not with the headlight, but with another part of the bike.
You will replace the fairing after making sure every light is operational. Remember, don't link the ffairing'sturn signals to the last remaining splitter. Make sure it's functioning by checking the light and pressing it until it clicks. Next, reinstall the fairing bolts in the opposite order you removed them.
Take a step back now and inspect your newly installed LED headlights. Yes, it is fierce. Come with me for a ride!
